A1 Custom Mousepad Imaging Inc. Since 1995, 3D Lenticular mouse
pads, countermats, coasters - ad specialty products at wholesale
prices ! |
ART INSTRUCTIONS & LAYOUT TEMPLATES FOR:
3D LENTICULAR:
MOUSE PADS, COASTERS, & COUNTER MATS
TIPS FOR ALL LENTICULAR EFFECTS: |
||
SPECIFICATION CHECKLIST FOR ALL ART FILES: |
||
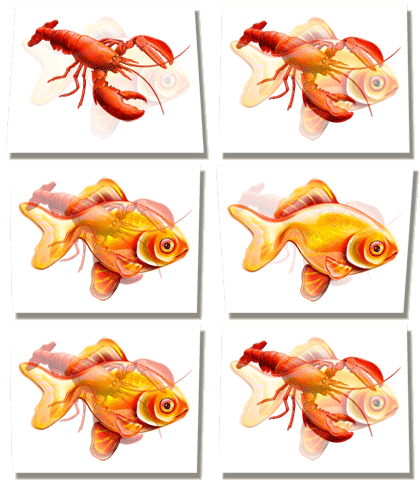
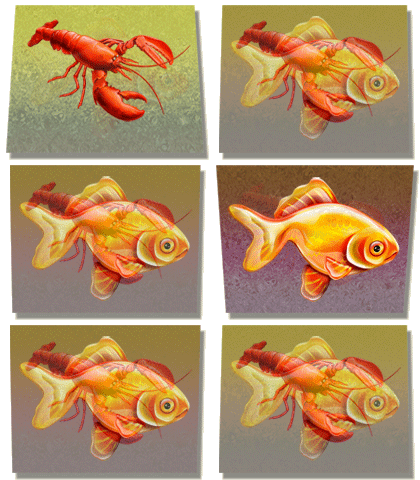
TIPS FOR FLIP EFFECTS: - Avoid solid color, black, and white backgrounds — photographs or busy, noisy images work best. Unlike turning a page to reveal a second image, flip images become visible when the image under the lens comes into view as you move the print up & down. Since both images are present under the lens, some bleed through or "ghosting" of one image into the other is usually present. The effect of this ghosting is minimized when busier images and backgrounds are used which mask or hide the ghosting. - Avoid flipping from one high contrast element to another. Flipping from a red ball to a white square, for example, would not work well as the red ball will surely ghost into the white square. Flips work best when the general color, shape of elements, and contrast of the from and to pictures are similar. - Keep the backgrounds the same when possible while flipping individual images or text of similar shape and color. - Flips work best when they are printed using horizontally oriented lens material which focuses on one image or the other image as the view shifts from top to bottom.
|
||
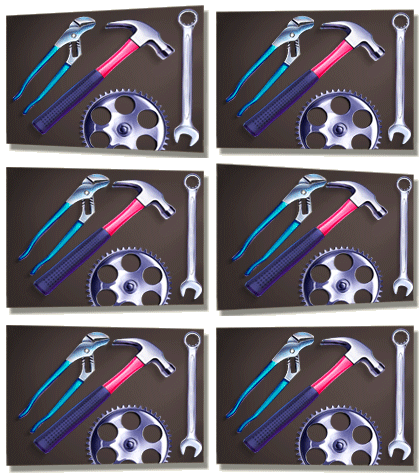
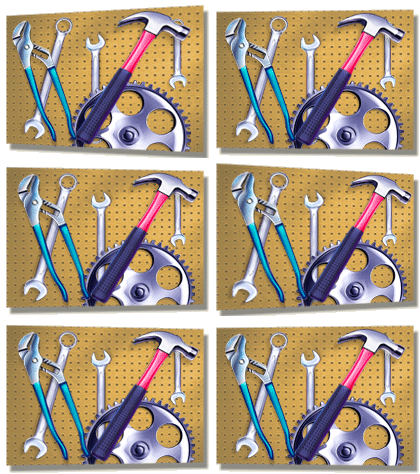
TIPS FOR 3-D EFFECTS: - YOUR DESIGN MUST BE SEPERATED INTO A FOREGROUND, MIDDLEGROUND, AND BACKGROUND LAYER TO ACHIEVE OPTIMAL 3D EFFECT. MAKE SURE EACH LAYER IS LABELLED ! - All images submitted for 3-D printing must be layered files with all elements editable — no placed images. Submit art as a layered Photoshop® .psd file when possible. Layered Illustrator® or Freehand® files can be used but will be converted to a Photoshop® layered file before processing. Image resolution should be 300ppi or higher. - Avoid solid color, black, and white backgrounds. Black or very dark backgrounds reduce the sense of depth. The background in a 3-D print must contain some sort of image or texture in order for your eyes to register a difference in position for the rest of the elements in the picture. - Create as much "visual" 3-D and perspective in the original picture as possible. The more 3-D the image looks to start with, the better the 3-D lenticular effect. In general, foreground elements are larger and lighter and background items are smaller and darker. Good color contrast between elements also helps. If elements have their own perspective, shaped with shadows and highlights, exaggerating these properties will add depth. - Overlap elements when possible. Image elements that overlap even slightly provide additional position reference points for the images printed in front of or behind them increasing the sense of depth. - In 3-D prints there is one special layer called the "zero layer" or "key plane". This is a layer in the print that is shown in the same position to both eyes so it doesn't shift or change position when the printed piece is moved. This zero layer is always the clearest printing layer in the print. Art elements, such as logos or type that you need to be very clear and not affected by the image shifts required to generate the 3-D effect, should be positioned on the zero layer or close to it. In 3-D space, items printing closer to the zero-layer are clearer and become less sharp as they move into the foreground and background of the picture. - Custom shapes can be interesting but keep in mind that the foreground and background images will shift right to left as the printed piece is moved. Custom shapes that try to capture a floating foreground or background element will not work as the printed image will move in relation to the die cut edge and may appear cut off in certain views. - 3-D products are always printed using vertically oriented lens material which is viewed by moving the piece side-to-side - Add 1" of horizontal width beyond the standard bleed size to 3-D files.
|
||
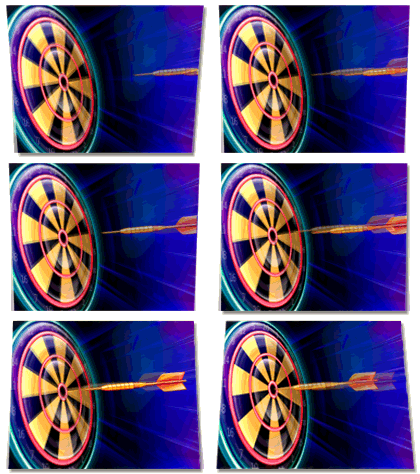
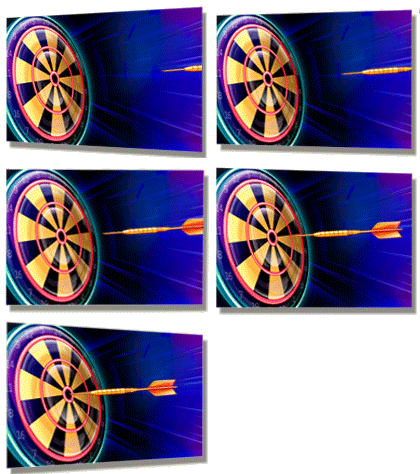
TIPS FOR ANIMATION EFFECTS: ZOOM, MOTION, MORPH - In the case of motion or morph effects, use the minimum number of pictures or frames required to create the effect. - Animations can be submitted as a sequence of images(recommended), or as a movie clip file such as a high res .mov, .avi. Low resolution movie files will not work. - For zoom effects please send the image at it's smallest, and largest state. Zoom effects work best on a common background using layered files so that the zooming element is editable. - Morph effects can be generated with two images, or sending a sequence of images. - These products are usually printed using horizontally oriented lens material.
|
||
|
||
YOU ARE RESPONSIBLE: Always remember that submitted layouts are printed "as is." While we often check your file for compliance to our requirements, we will not be responsible for our failure to correct any portions of your design which are not compliant. When you submit your digital art, you are responsible for its content and construction. Be certain the work is color corrected, the images are adjusted to your satisfaction, all text is correctly spelled, and that your art is prepared according to our instructions. All photographic images and images including half-tones or screen tints will require us to make some adjustment in order to work well with the sublimation printing process. We strongly recommend supplying us with a color print of your design along with the art file so we can use it as a reference when producing the prints needed to image your merchandise. |
||
| HOW TO DELIVER YOUR ART FILE(S) TO A1: Over 90% of our clients choose to upload their design to our subsite on www.ibackup.com. Email us for instructions. Otherwise, send your art saved to CD-ROM or DVD. Make sure you test your CD to be certain the art will open correctly. | ||
COPYRIGHTS: Customers warrant that all images supplied for reproduction, whether digital, conventional or otherwise, are unencumbered by copyright and other usage rights connected to the image(s) and agree to hold harmless and indemnify A1 Custom Mousepad Imaging Inc.® for all claims and expenses for any actions in law that may result from the use of these images. |
||
| SEPARATIONS, FILM, FILES, PLATES & DIES: All separations, digital files, plates, and dies created by A1 Custom Mousepad Imaging Inc.® remain our property. Our policy is to keep these materials on file for 24 months, except for sublimation film separations which we discard after use. Setups are customary for reorders, but may be discounted depending on product reordered. After 24 months, reorders are treated as new jobs and require new art and set-ups. Original art is always returned upon request. | ||
| PROFESSIONAL ART SERVICES: While we can assist you with type setting, and other basic graphic design services, we are not setup to supply professional creative design services. We are pleased, however, to refer you to various professionals we know who can assist you for a fee. | ||
©2007 A1 Custom Mousepad Imaging, Inc. |
